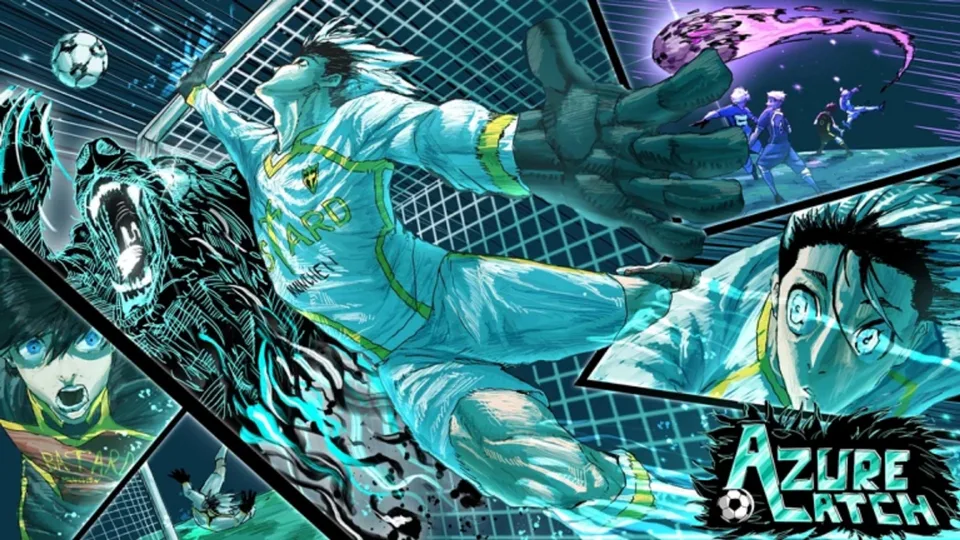
Master the Mythic Sae style in Azure Latch on Roblox with our complete guide covering Logic Mode, Reflex Mode, combos, and advanced player tips.
Published: Azure Latch Wiki Editorial Team
Table of Contents
Understanding the Sae Style in Azure Latch
When you manage to roll the Mythic Sae style in Azure Latch on Roblox, you unlock one of the most mechanically deep playstyles in the game. Based on the elite playmaker from Blue Lock, Sae requires precise calculation, tactical positioning, and deep resource management. With a rare drop chance of just 1.7% from the shop, this style rewards players who can dictate the pace of the match, read opponent movements, and exploit defensive mispositions.
Choosing Sae means stepping away from brute-force tactics and leaning into finesse, vision, and logical thinking. To help you master this complex toolkit, we will break down his unique dual-mode system, complete base moveset, flow mechanics, and advanced community strategies.
Roll and Equip: Secure the Sae style from the shop with its 1.7% drop rate.
Learn the Modes: Master switching between Logic Mode and Reflex Mode using the T key.
Manage Flow: Keep your flow progress above 25% or 50% to utilize advanced spatial vision and high-tier variants.
Execute Combos: Combine first touches, side dashes, and counter-stances to catch opponents off guard.
Base Moveset Modes: Logic vs. Reflex
Sae is the first style in Azure Latch to feature two distinct base moveset modes. Managing these modes dynamically during a match separates average players from elite playmakers.
Logic Mode
Logic Mode serves as your default state, representing Sae's composed and calculated playstyle. In this mode, your standard abilities focus on defensive traps, controlled first touches, and structured playmaking. It is ideal for maintaining possession and punishing overly aggressive defenders who rush into tackles.
Reflex Mode
Pressing the T key activates Reflex Mode, provided you have sufficient flow progress. Reflex Mode grants enhanced, faster-paced variants of your existing moves, transforming your mobility and dribbling capability. However, it comes with a trade-off: it continuously drains 2% of your Flow Progress per second. Additionally, Reflex Mode automatically deactivates during specific cutscenes, Aiku's Reflex Tackle, or Sae's successful nutmeg landings.
Logic Mode (Default)
Focused on stability, counter-stances, and structured control. Perfect for disciplined buildup and reading opponent habits.
Reflex Mode (T-Special)
Focused on aggressive dashes, speed, and advanced offensive pressure at the cost of continuous flow consumption.
Complete Moveset Breakdown
Sae's kit adapts significantly depending on whether you are in Logic or Reflex Mode. Understanding the nuances of each ability ensures you maximize your offensive output.
Beautiful Destruction (1 Key + Movement)
In Logic Mode, this move utilizes a perfect first touch combined with a slight dash to the right. According to community testing and game updates, the initial activation grants full I-frames, replacing older counter frames. If you use the second activation, you perform a heel-flick dash up the field.
In Reflex Mode, the second activation changes into a rapid drag and drive, letting you burst past defenders with a large diagonal dash.
Tip
According to player experience, holding W or S while executing Beautiful Destruction initiates a clean two-part Perfect Touch sequence that helps fake out goalkeepers.
Rabona Nutmeg (2 Key)
Rabona Nutmeg acts as your primary defensive deterrent and counter tool in Logic Mode. When triggered, you enter a counter-stance; if an enemy tackles you, they are locked in place while you nutmeg them and retain possession. Missing the counter, however, leaves you stunned for a brief moment.
In Reflex Mode, pressing 2 turns the move into an active dash forward with a distinctive pink trail. Hitting an opponent during this dash automatically nutmegs them, though missing incurs a short 0.6s endlag.
Drive Shot (3 Key)
Your primary long-range scoring tool. In Logic Mode, the Drive Shot is a trivela kick with your left foot, producing a heavily curved trajectory from right to left. In Reflex Mode, it alters into a high lob shot, giving you greater aerial flexibility to bypass rushing defenders.
Magic Pass (4 Key)
Magic Pass is what makes Sae a true playmaker. When looking at a teammate within range, the ball locks onto them with a visible target indicator. The ability automatically predicts your teammate's movement direction.
Warning
Recent updates place a range limit on Magic Pass predictions (capped around 45 studs for the receiver), so ensure your target is reasonably close before attempting long-distance feeds.
Flow Moveset and Awakening Mechanics
When your flow meter reaches its peak, Sae's awakening ability, "Leveled Genius," activates a cinematic sequence accompanied by iconic voice lines and visual themes.
Cross Elastico (5 Key)
Cross Elastico functions as a powerful counter move once per flow. When enveloped in your reflexive aura, getting sliced by an opposing tackle initiates a cutscene where you push the defender, execute a precise Hocus-Pocus style nutmeg, and blast the ball toward the goal.
Community reports note that using Cross Elastico against a Rin user triggers a unique sibling rivalry interaction complete with custom dialogue and animations.
[ ] Keep your flow above 50% to maximize Meta-Vision benefits.
[ ] Use side dashes right before throwing out counter-stances to minimize startup lag.
[ ] Watch your Magic Pass distance limits to avoid misdirected passes.
[ ] Save your Cross Elastico counter for high-pressure 1v1 defensive situations.
Advanced Tips and Pro Strategies
Mastering Sae requires clean execution of advanced movement techniques reported by top community players:
Insta-Volley Techniques: By kicking outwards, performing a side dash, and jumping into the ball without catching it, you can execute rapid insta-volleys that goalkeepers struggle to track because the shot trajectory line remains invisible to player goalkeepers.
Top Bins Angling: When executing shots near the goal box, jumping right before your strike ensures the ball consistently targets the top bins, especially when utilizing shift-lock flicking.
Evading IQ Tackles: Avoid spamming your 1 variant directly next to defenders who possess high defensive traits or IQ tackles. Always create a buffer of space or weave minor shift-lock flicks into your dribbling patterns to punish defender recovery frames.
Frequently Asked Questions
How do I switch between Logic and Reflex modes in Azure Latch?
You can switch between Logic Mode and Reflex Mode by pressing the T key. Reflex Mode requires active flow progress and continuously consumes 2% of your flow per second.
What is the drop rate for Sae?
Sae is classified as a Mythic style in Azure Latch and has a base roll drop chance of 1.7% from the in-game style shop.
Does Cross Elastico consume my flow when used?
No, successful counter activations of Cross Elastico in Reflex mode will not prematurely end your active flow state.