
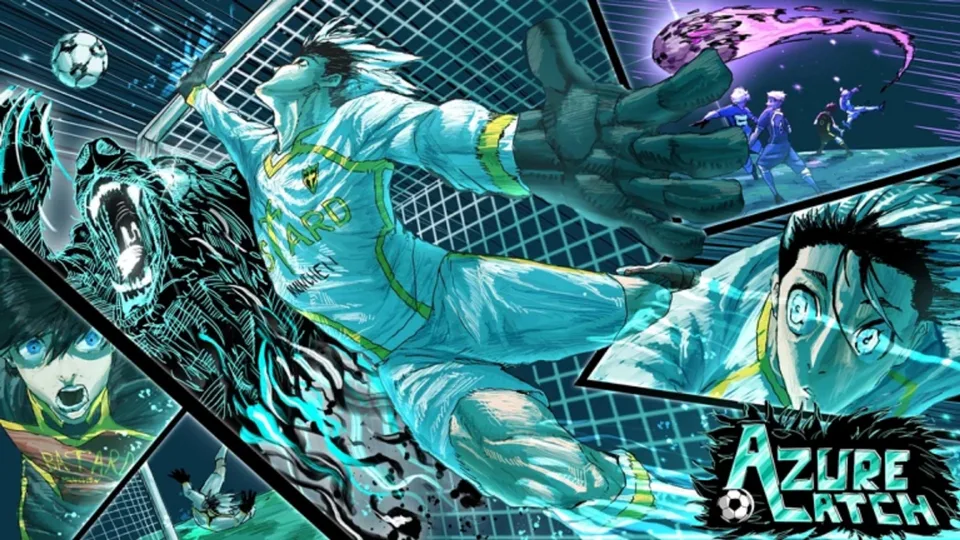
Mastering Yukimiya Mechanics in Azure Latch
In Azure Latch, playing as Yukimiya requires a deep understanding of unique ball physics and character-specific "tech." Unlike standard characters, Yukimiya’s kit relies heavily on precise positioning and mastering the "flow" of his specialized shots. To activate his full potential, you must move beyond basic shooting and learn how to align your camera with the environment to bypass goalkeepers.
Executing the Gyro Shot (Groy)
The Gyro shot is a staple for Yukimiya mains, designed to curve the ball in ways that confuse defenders. According to community reports, the most reliable way to activate this is by positioning yourself exactly 1.5 tiles away from the corner wall.
- Move to the corner of the field and identify the tile markers on the ground.
- Position your character at the 1.5-tile mark between two full tiles.
- Look up toward the floodlights or the blue line of lights above the goalpost.
- Aiming slightly above the light pole while stationary ensures the ball gains the necessary speed and trajectory.
- Trigger the Gyro shot while ensuring no opponents are within your immediate radius, as interference can disrupt the move's animation.
Utilizing the Sword Screw Special
The "Sword Screw" is arguably Yukimiya’s most interesting special move. While it has a surprisingly long range—effective up to three tiles away—it behaves differently depending on your environment.
Tip
To maximize the Sword Screw, treat the area around the goal as a geometric grid. You can aim this move using your camera, which allows you to loft the ball over an incoming goalkeeper’s head. If you are inside the goal box, the ball will bounce faster; use this to your advantage to set up headers or fake shots by playing the ball off the walls.
Advanced Dribbling and Techs
One of the most powerful aspects of Yukimiya is the ability to manipulate the end-lag of his speed dribble. Many players are unaware that you can cancel the animation to perform a follow-up action immediately.
Troubleshooting and Positioning
If your shots aren't landing, check your "Technique" mode settings. Some abilities, like the Sword Screw, behave inconsistently if attempted outside the goal box due to higher bounce speeds. Always ensure you are on flat ground, as uneven terrain can cause the ball to deviate from the intended path.
Warning
Be cautious when attempting advanced lineups in public servers. While these techs are highly effective against AI, real human goalkeepers may anticipate the trajectory. Always experiment with different camera angles—such as aiming at the goalpost rather than the center—to keep your opponents guessing.
For the latest updates and community-driven strategies, keep an eye on the official Azure Latch Roblox page. As with any high-skill character, practice in private servers is the best way to develop the muscle memory required for these specific lineups.